Replacing fluorescent with LED in chicken coops is more than a simple lighting upgrade—it’s a cost-saving, health-boosting strategy that directly impacts egg production, bird behavior, and long-term energy expenses.
For poultry keepers looking to optimize their operations, understanding the nuances of LED lighting for layers is critical.
In this article, we’ll analyze costs, recommend the best LED lights for egg-laying chickens, and explore how lighting changes can control aggression in flocks.
Why Replace Fluorescent Lights with LED in Chicken Coops?
Fluorescent lights have been a staple in poultry housing for decades, but LEDs offer superior benefits:
- Energy Efficiency: LEDs consume 50–70% less electricity than fluorescent tubes, reducing your monthly farm electricity bill.
- Longer Lifespan: LEDs last 50,000+ hours versus 7,000–15,000 hours for fluorescents.
- Better Light Quality: LEDs provide full-spectrum light that mimics natural daylight, improving egg production.
- Durability & Safety: LEDs are more resistant to breakage, reducing the risk of exposure to harmful substances like mercury.
According to Poultry Science Journal, proper lighting directly influences laying rates and flock welfare.
Cost Analysis of Replacing Fluorescent with LED in Chicken Coops
Initial Investment vs. Long-Term Savings
While LED fixtures are more expensive upfront, the lifetime savings in energy and maintenance often justify the switch.
Example Calculation for a 100-Bird Coop:
- Fluorescent: 4 tubes × 40W × 16 hours/day × $0.12/kWh = ~$3/day
- LED: 4 tubes × 18W × 16 hours/day × $0.12/kWh = ~$1.38/day
- Annual Savings: ~$600
Maintenance Costs
- Fluorescent tubes need replacement every 1–2 years; LEDs last 5–7 years.
- Less frequent replacement reduces labor costs and stress for birds.
Return on Investment (ROI)
- With lower electricity and maintenance costs, LED installation typically pays off in 1–2 years.
Best LED Lights for Layers
Light Spectrum and Color Temperature
- Red/Orange Spectrum: Encourages lying and reduces aggression.
- Blue/Green Spectrum: Can calm flocks and reduce pecking.
- Ideal: Warm white LED (2700–3500K) for layers.
LED Fixture Types
- Linear Tubes: Replace traditional fluorescent tubes directly.
- High Output Panels: Provide uniform light in large coops.
- Dimmable LEDs: Allow adjustment to mimic natural sunrise/sunset, reducing stress.
Recommended Brands & Models
- Philips LED T8 Tubes – durable, energy-efficient, widely available
- Feit Electric LED Poultry Lights – adjustable spectrum, easy installation
- Farm Innovators LED Panels – customizable dimming and light intensity
External reference: University of Arkansas Poultry Lighting Guide
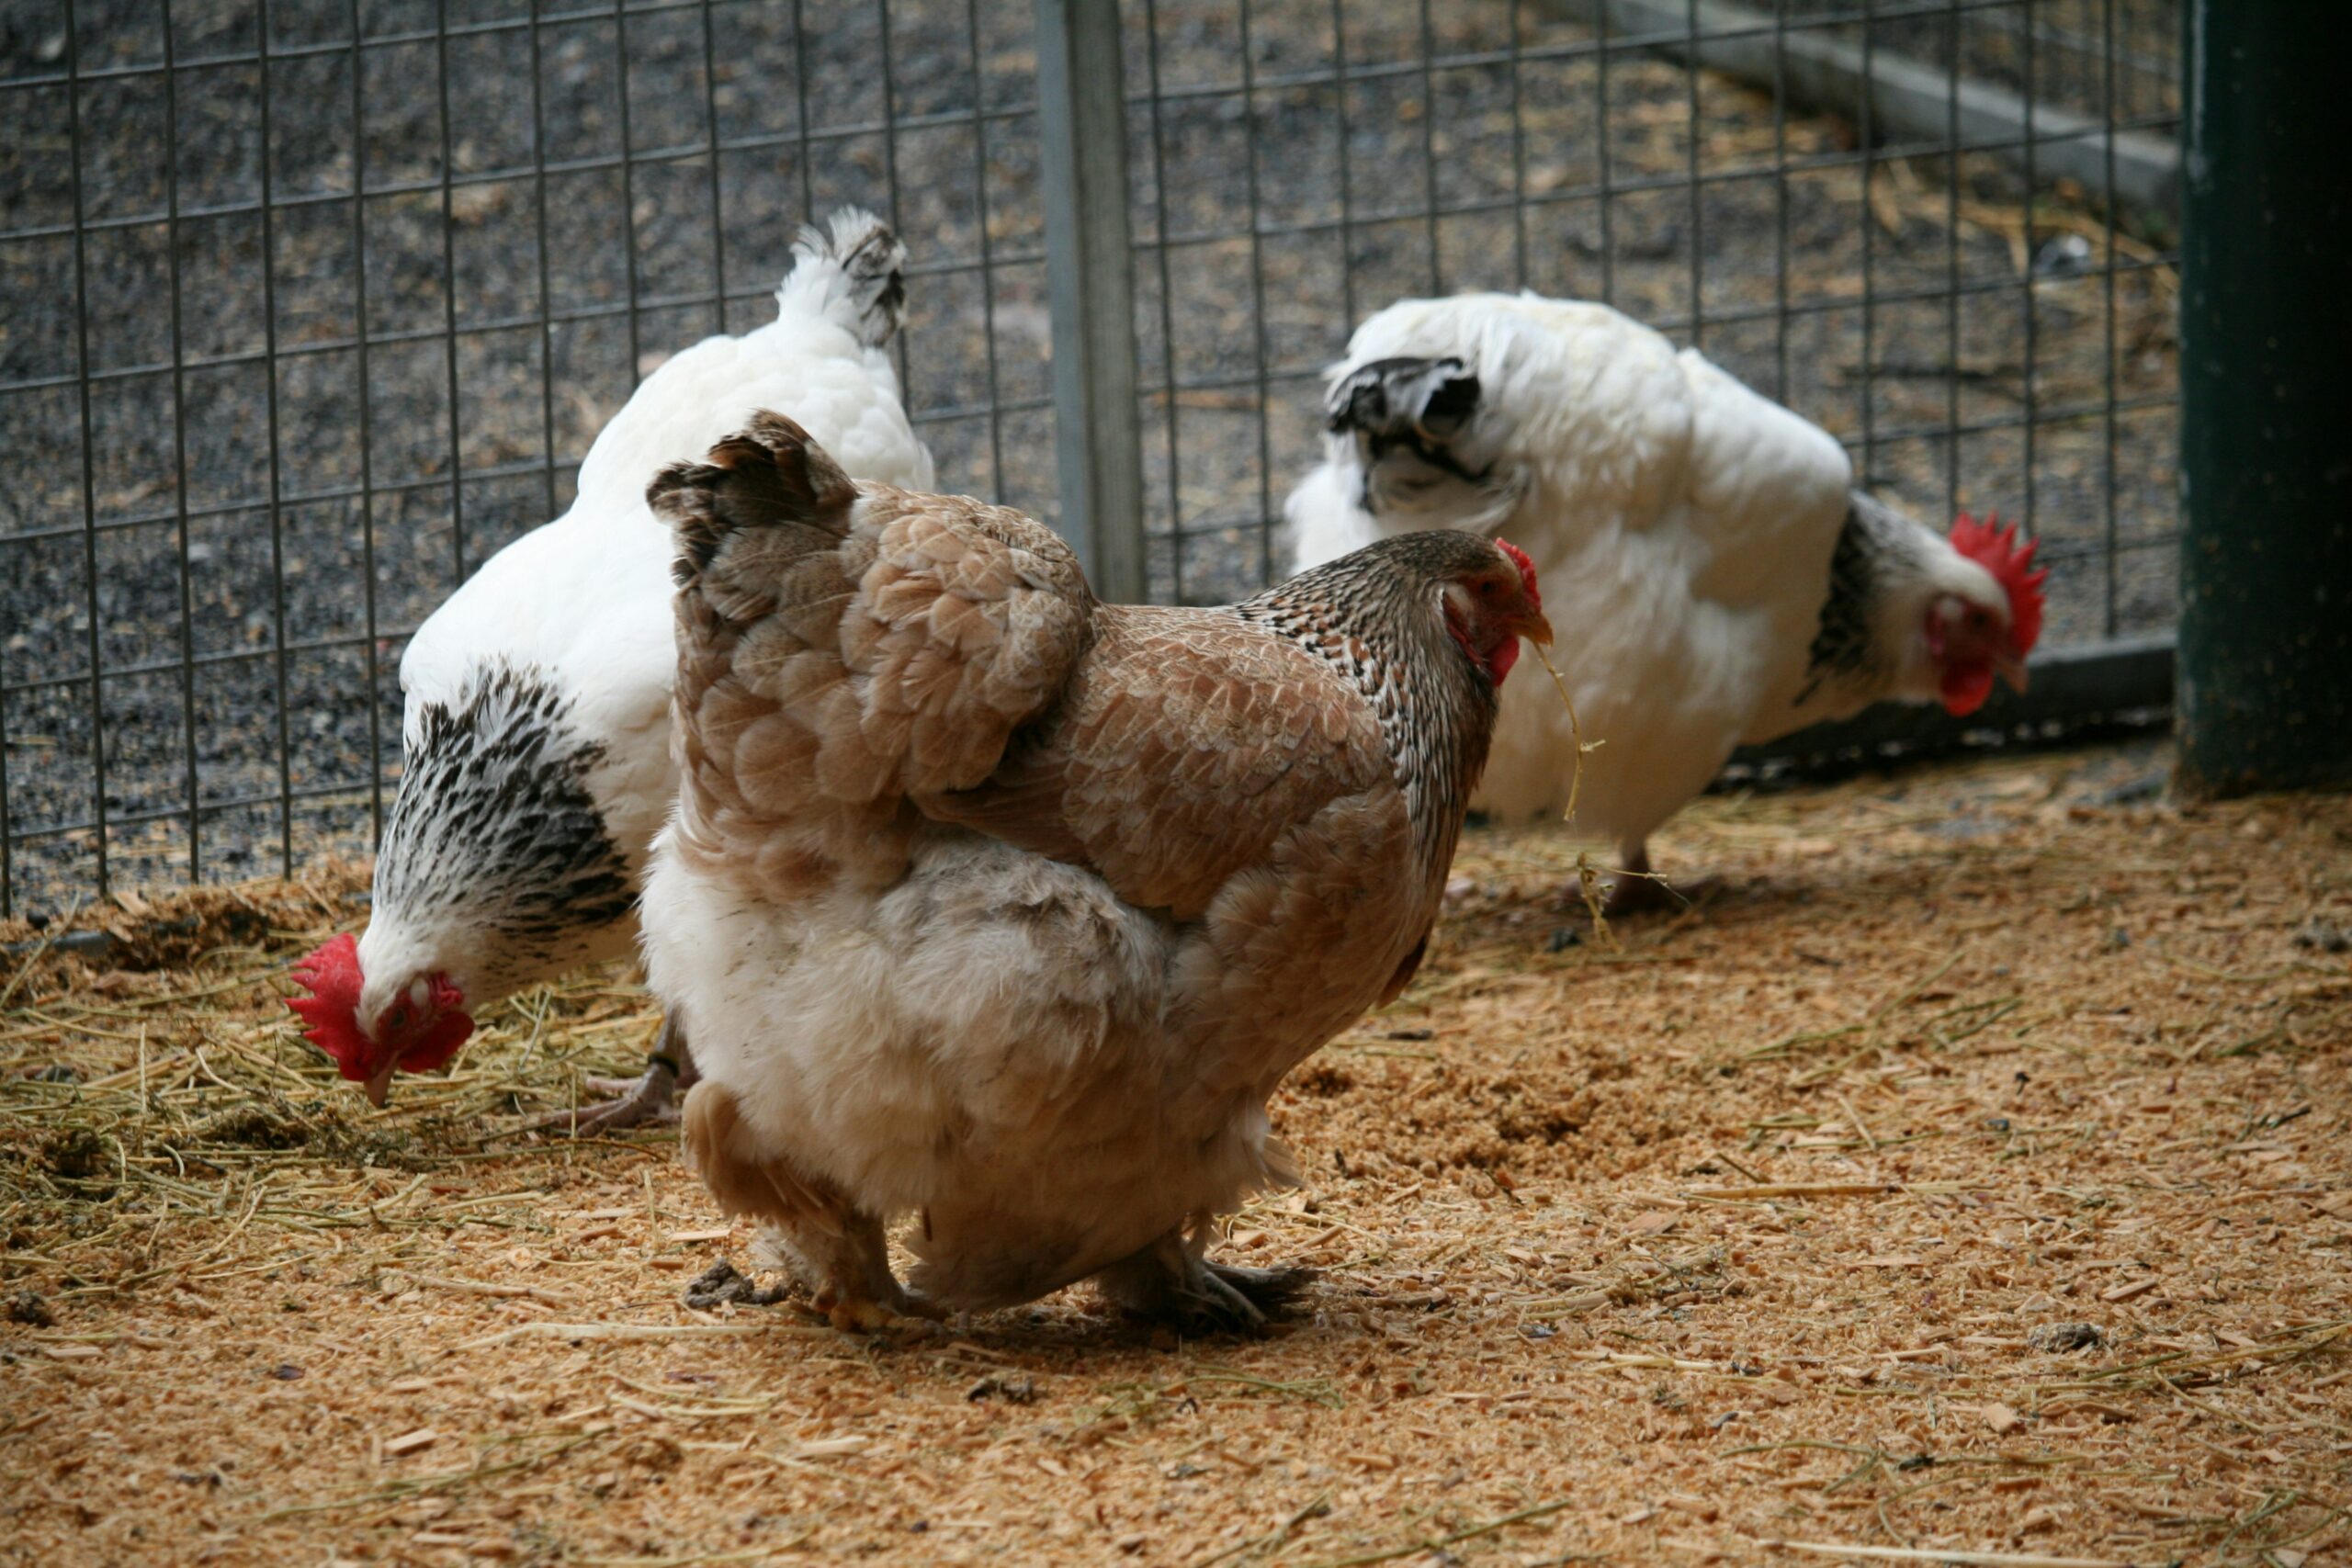
LED Lighting and Aggression Control in Layers
Understanding Pecking and Aggression
Excessive aggression and feather pecking are often linked to lighting intensity and spectrum. Fluorescent lights can cause flicker and uneven distribution, triggering stress.
How LEDs Help
- Consistent, Flicker-Free Light: Reduces irritation and stress.
- Red Spectrum LEDs: Can calm birds and reduce aggressive behaviors.
- Gradual Dimming: Mimics natural dawn/dusk cycles, supporting natural circadian rhythms.
Installation Tips for LED in Chicken Coops
- Calculate Required Lumens:
- 20–30 lux per square foot for layers.
- Uniform Distribution:
- Avoid shadows and bright spots to prevent pecking.
- Position at Proper Height:
- 7–8 feet above the birds for even coverage.
- Use Timers:
- Maintain a consistent lighting schedule for optimal laying.
- Regular Maintenance Check:
- Wipe dust off LEDs to maintain brightness.
Internal link idea: See our post on optimizing chicken coop design for more on light placement.
Potential Challenges and How to Overcome Them
- Initial Cost Concerns: Use energy savings calculators to justify the switch.
- Bird Adaptation: Gradually dim fluorescents while introducing LEDs to reduce stress.
- Light Spectrum Choice: Test a small area before full installation.
Case Studies and Success Stories
- Small Farm in Iowa
- Switched 100 birds from fluorescent to LED
- Egg production increased by 8%
- Aggressive behaviors reduced by 60%
- Backyard Layer Flock in the UK
- Energy bills dropped 50%
- Feather condition improved within 3 months
External link: Backyard Poultry Magazine
Additional Benefits of LED Lighting in Chicken Coops
- Lower heat emission → reduces ventilation needs.
- Flexible placement options → suitable for multi-tier systems.
- Environmental sustainability → less electricity, no mercury disposal.
Final RecommendatioReplace fluorescent with LED in chicken coops to save energy, boost laying, and reduce aggression.
- Choose the correct spectrum (warm white/red) for layers.
- Use dimmable LEDs and timers for optimal flock welfare.
- Calculate ROI using energy and maintenance savings.
By implementing these tips, poultry farmers and backyard enthusiasts can achieve a more productive, stress-free, and cost-effective environment for their chickens.
Monitoring and Adjusting LED Lighting Over Time
Replacing fluorescent with LED in chicken coops is only the first step; ongoing monitoring ensures you maximize benefits. Farmers should regularly track:
- Egg Production Trends: Observe whether daily egg counts improve after switching to LEDs.
- Behavioral Changes: Watch for reductions in feather pecking, cannibalism, or stress behaviors.
- Light Intensity and Coverage: Ensure no areas are too dim or too bright, as uneven lighting can cause flock tension.
Seasonal Adjustments
- Winter Months: Increase lighting duration slightly to maintain laying rates, as natural daylight decreases.
- Summer Months: Reduce artificial lighting to prevent overexposure and overheating, ensuring bird comfort.
Incorporating Technology
- Smart LED controllers can automate light schedules and dimming, helping maintain consistent conditions without daily manual adjustments.
- Light sensors can adapt intensity automatically to seasonal daylight changes, promoting natural circadian rhythms.
Keeping a simple log of egg production and bird behavior alongside lighting adjustments can provide invaluable insights over time, ensuring your investment in LEDs yields maximum productivity and welfare benefits.
Environmental and Sustainability Benefits
Switching from fluorescent to LED not only benefits chickens but also supports eco-friendly farming practices:
- Lower Carbon Footprint: LEDs consume less electricity, reducing greenhouse gas emissions.
- Reduced Waste: Longer-lasting bulbs mean fewer disposals of hazardous fluorescent tubes containing mercury.
- Energy-Efficient Farming: Cost savings can be reinvested into sustainable feed or flock improvements.
By choosing LEDs, poultry keepers actively contribute to environmentally responsible operations while improving flock performance.
Choosing the Right LED Intensity for Different Coop Sizes
Replacing fluorescent with LED in chicken coops requires careful consideration of light intensity. Overly bright lights can cause stress, while dim lighting may reduce laying rates.
- Small Coops (≤50 birds): 15–20 lux per square foot is generally sufficient.
- Medium Coops (50–200 birds): 20–25 lux per square foot ensures even coverage without hot spots.
- Large Commercial Coops (200+ birds): 25–30 lux per square foot, combined with uniform panel distribution, prevents shadows that can trigger aggression.
Using a light meter to measure lux levels ensures that every bird experiences consistent lighting, maximizing comfort and productivity.
Gradual Transition from Fluorescent to LED
Switching lighting systems abruptly can stress birds. A gradual transition ensures smooth adaptation:
- Overlap Period: Run LEDs alongside existing fluorescent tubes for 1–2 weeks.
- Dim Fluorescents Slowly: Gradually reduce fluorescent intensity while increasing LED brightness.
- Monitor Flock Behavior: Observe pecking, feeding, and resting patterns to ensure birds adjust well.
- Adjust LED Schedule: Once fully switched, maintain a consistent daily light schedule with timers.
This approach reduces shock to the circadian rhythm and helps maintain steady egg production.
Integrating LEDs with Other Flock Management Practices
Lighting is just one part of effective poultry management. Combining LED lighting with other strategies enhances results:
- Proper Nutrition: Balanced feed complements improved laying from optimized lighting.
- Ventilation and Temperature Control: LED lights emit less heat than fluorescents, but coop ventilation still matters for bird comfort.
- Space Management: Adequate space reduces aggression and supports welfare alongside proper lighting.
According to Poultry Hub Australia, combining optimal lighting with nutrition and housing improvements can increase overall egg yield by up to 15%.
Practical Tips for Long-Term LED Maintenance
Even with durable LEDs, regular upkeep is important:
- Dust and Debris Removal: Clean bulbs and panels every few months to maintain light quality.
- Inspect Wiring and Fixtures: Ensure connections remain secure and safe from moisture or rodents.
- Track Performance: Note any decrease in brightness over time to replace old units proactively.
Long-term care extends LED lifespan and maximizes return on investment.
Summary and Key Takeaways
Replacing fluorescent with LED in chicken coops offers numerous advantages:
- Reduced energy consumption and lower electricity bills.
- Improved egg production and healthier laying patterns.
- Reduced aggression and stress in layers due to stable, flicker-free light.
- Long-term sustainability benefits and lower maintenance costs.
By carefully choosing light spectrum, intensity, and fixture type, and combining LEDs with good flock management practices, poultry keepers can create optimal conditions for productivity, welfare, and cost savings.


